So, homemade potato chips. There is absolutely no reason to make homemade potato chips. You can drive around the corner to the grocery store and buy a bag for about two dollars. Or you can buy a bunch of bags, and not need to buy chips for a while. No need to spend time peeling and slicing and frying a sack of potatoes. Making homemade potato chips is ridiculous.
Ridulously fun.
Here's how you do it.
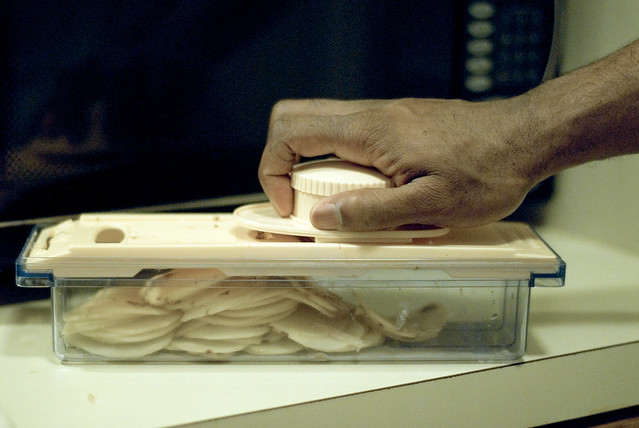
First, you peel and slice four to six Russet potatoes thinly. For the slicing, we used a gadget that used to belong to Kendal's grandmother. It belonged to her, but she had never used it. When Kendal's mom brought it back from Little Mama's house a few years ago, it was still in its original 1970s packaging, unopened. If we had heard of such a thing, we could have made an unboxing video about opening brand-new old stuff. But, we hadn't heard of such a thing, so we just used it to make potato latkes. And homemade chips.
Ahem.


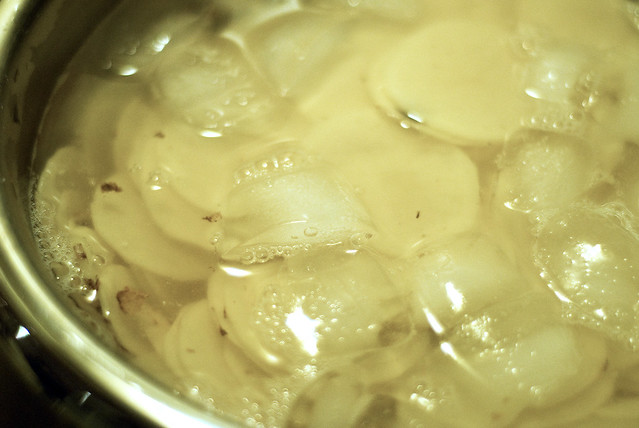
Soak the potato slices in a bowl of ice water for about 30 minutes. This removes the starch so that the chips will be crunchy.

Next, dry the slices completely by laying them flat on paper towels.
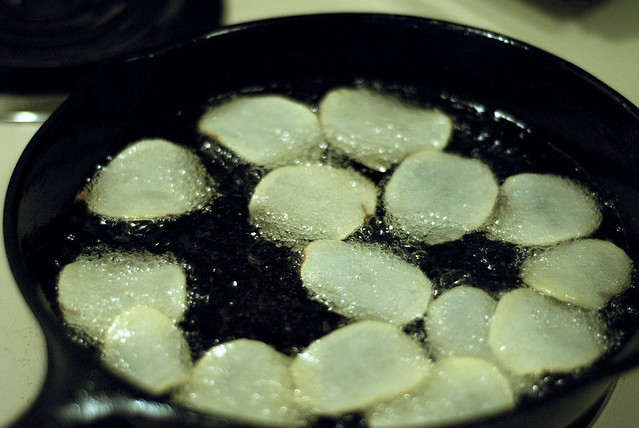
Pour about an inch of canola oil into a cast iron skillet and set the heat to medium high. To test if the oil is ready, either put one potato slice in to see if it begins to fry, or do the wooden spoon test.
Digression 1b*: The Wooden Spoon Test
Put the handle of a wooden spoon into the oil. If the oil begins to bubble pretty vigorously around the handle, the oil is hot and ready. I learned that tip from Sara Moulton. Don't feel left out--she didn't teach it to me personally. She used to have a show on The Food Network. You could have learned it from her, too.
Now that your oil is hot, place your potato slices into the skillet in a single layer. (You will have to fry the chips in batches, because four potatoes makes a lot of chips.)

After a minute or two, check the under side of one of the chips to see if it is your desired shade of golden/brown. If it is, turn all the chips over.
Once all the chips are browned how you like them, remove them and place them on a paper-towel-lined plate. Sprinkle them with salt and/or other seasonings while they are still hot and then allow them to cool completely. They should be nice and crispy. (I did notice that the lighter chips were a little soft. The chips of a deeper hue were perfectly crunchy.)
If you don't want to use all of the plates in your cabinet to cool your chips, layer a paper towel over the cool chips to be ready for the next batch. I actually used two plates and alternated them to ensure that each batch was completely cooled before placing another layer of paper towels on top.
They should look like this when they're done:

If they don't, you flunk. You'll have to repeat the class. But with a different teacher, because, obviously, I'm of no help to you.
Invite your friends over and eat these chips with dip on the same day you make them. I tried storing them in an airtight container, and I wound up with bendy, un-crunchy chips the next day.
You may want to experiment with different types of oil. (Like sunflower.)
Or you may just want to hop in your car and go buy a bag of Lays**.
*If I have to tell you what "Digression 1a" was, you weren't paying attention.
**Do I really need to tell you that this post was not sponsored?

No comments:
Post a Comment